Interesting Facts
You can have an espresso machine as well thought out as you wanted: If the beans used don't fit and the grinder is not set correctly, then you can never succeed.
The interrelationships are explained below. All of this may sound a bit complicated. But it is only described in detail and once you have managed it, it will seem completely logical.
Here a possible way is described. In detail or as a whole, you will also find other recommendations that you can also follow.
The Beans
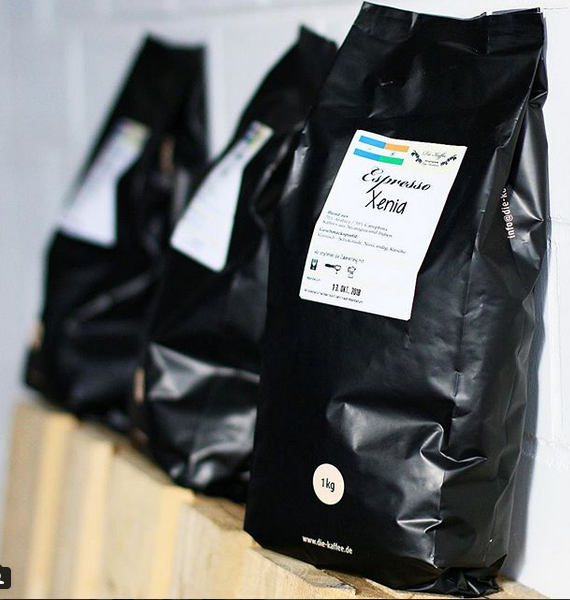
The roast must be specially made for portafilter machines. Roasts intended for brewing ‚German‘ coffee or for fully automatic machines don't really work well. Because it will always make a sour espresso. As will be explained below, pre-ground coffee will only produce a good result if you are lucky.
If the beans are too old, all effort is also in vain. You cannot say in general what is 'old'. But at 3 months it starts to become questionable. When it comes to this topic, you are in good hands with small roasters.
What you shouldn't do either: practice with old or cheap coffee. It's like learning to cook with rotten food.
Some roasters offer so-called Third Wave Coffee, which, among other things, should have a fresh acidity. This is not for everyone and is a far cry from the coffee you know from Italy. One shouldn't start with that.
In the beginning it may be better to roast pure Arabica, as not everyone in Central Europe initially likes Robusta. Robusta beans are not inferior coffee, and Arabica is not a quality criterion.
The Coffee Grinder

Ideally, a mill can be adjusted continuously (or with a very fine grid). Mills with timers (which can grind almost exactly the same amount/ time) are also useful.
When a grinder is new, it initially produces uneven results. You can skip this irritating phase quite well by grinding 500 - 1000 grams of the cheapest beans on a medium setting. (Below is something written about the fineness.)
The Grind
It is not easy to find the right grind at the beginning, which also varies from roast to roast. But it's not that difficult either, and the following hints provide a good starting point.
If you set the grinding degree very fine, the grinding disks block. Even if that is no big deal for grinders with steel disks, it shouldn't come to that. If you adjust the grind slowly while grinding, you may hear a slight metallic clinking before the blockage. Then you have found the finest point and should go back a little so that the grinding disks do not have any contact.
The ground coffee that the grinder then produces will form quite a few lumps. The lumps can be 5 mm in size, for example. If you grind the coffee grounds between your fingers, it feels quite soft and you hardly feel the coffee crumbs or not at all. Even if it feels and smells great: it's too fine for any pump. But it's a good starting point to find a decent grind.
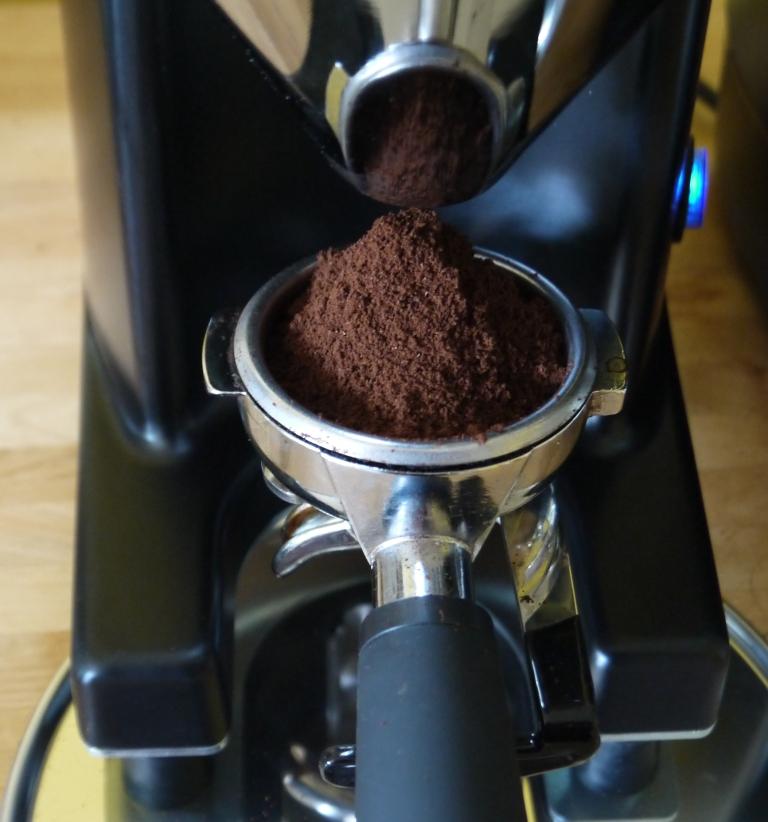
From now on you adjust the grinding degree of the mill a little in the direction of 'coarser'. Since a grinder has a so-called dead space, it still delivers a few grams of ground coffee with the old grind. You don't pay attention to it, but after a few seconds you can notice a change. You do this until very few such large lumps land in the sieve. 1 or 2 mm lumps are perfectly fine. And you begin to feel the crumbs between your fingers.
It might look something like this and the mess around it is probably even bigger after trying it than here in the picture:
At this point you can stop adjusting the grinding degree.
Two (less important) tips at the end:
The lumps are actually completely dissolved by stirring with a toothpick.
Before pressing, you can tap the portafilter with the tamper to better distribute the coffee grounds.
The Amount of Ground Coffee
The degree of grinding and roasting only make up two thirds of the success. The following explanation helps to understand why the amount in the sieve is also of great importance.
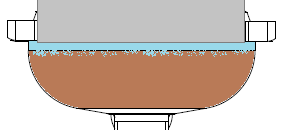
Here is the constellation when too little is filled. The portafilter is clamped in—the ground coffee is marked with brown colour, the machine's shower screen is grey. Between the two is 'air':
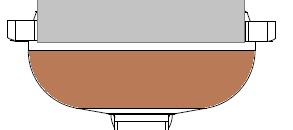
Now the brewing starts and the water first fills the space and begins to float the ground coffee:
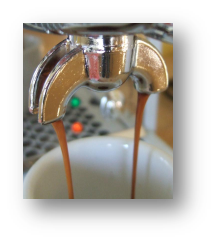
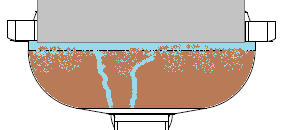
This can increase as a result. If you are unlucky, channels will even form, through which a lot of water will flow off immediately. This situation can be recognized by the fact that the espresso becomes very watery, the flowing stream dances and does not remain calm (which looks like a mouse tail):
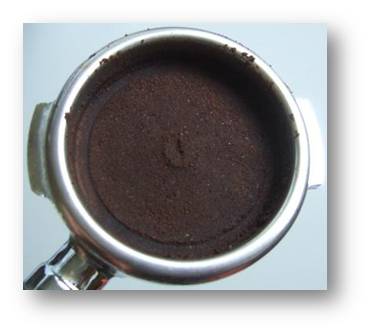
After brewing you can see one or more holes (channels) in the surface. The surface of the ground coffee looks damp and muddy.
However, if you have the right amount, the dangers described above are significantly reduced and the water penetrates the coffee grounds evenly:
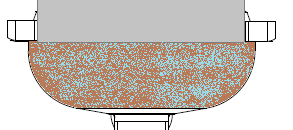
It is of course difficult to assess this when the portafilter is clamped in. It is roughly 5–8 mm from the ground coffee surface to the sieve edge. After extracting, you can easily see the imprint of the shower screen in the coffee (with or without an imprint of a screw in the middle):
There is one more factor that promotes a positive development in ground coffee: tamping, i.e. the pressing of ground coffee. It is not the pressure that decides here, but first and foremost it is about distributing the flour evenly. To do this, it can make sense to tap the tamper 2 or 3 times against the sieve to loosen the lumps and distribute the flour. It doesn't really matter whether you press it down with 5 or 15 kg of pressure.
Some also advise not to fill the sieve all the way to the top, but to leave some space. You can do that, but it is not so easy to check whether there are actually only 2 mm of air left. The impression of the shower screen can be checked well after brewing.
What is more of a hindrance here are the often mentioned ideal 7 (or 14) grams per espresso. Usually you fill up more and that also depends heavily on the roast. This is then no longer entirely the 'pure teaching'—but the main thing is that it works and tastes good. If you are more experienced later, you can try to approach the ideal 7 grams step by step.
For light roasts and partly for so-called single-origin coffees, all this does not quite apply. These varieties always tend to have uneven extraction and too much acidity, which you cannot get rid of by changing the grind.
Cup/ Filter Holder
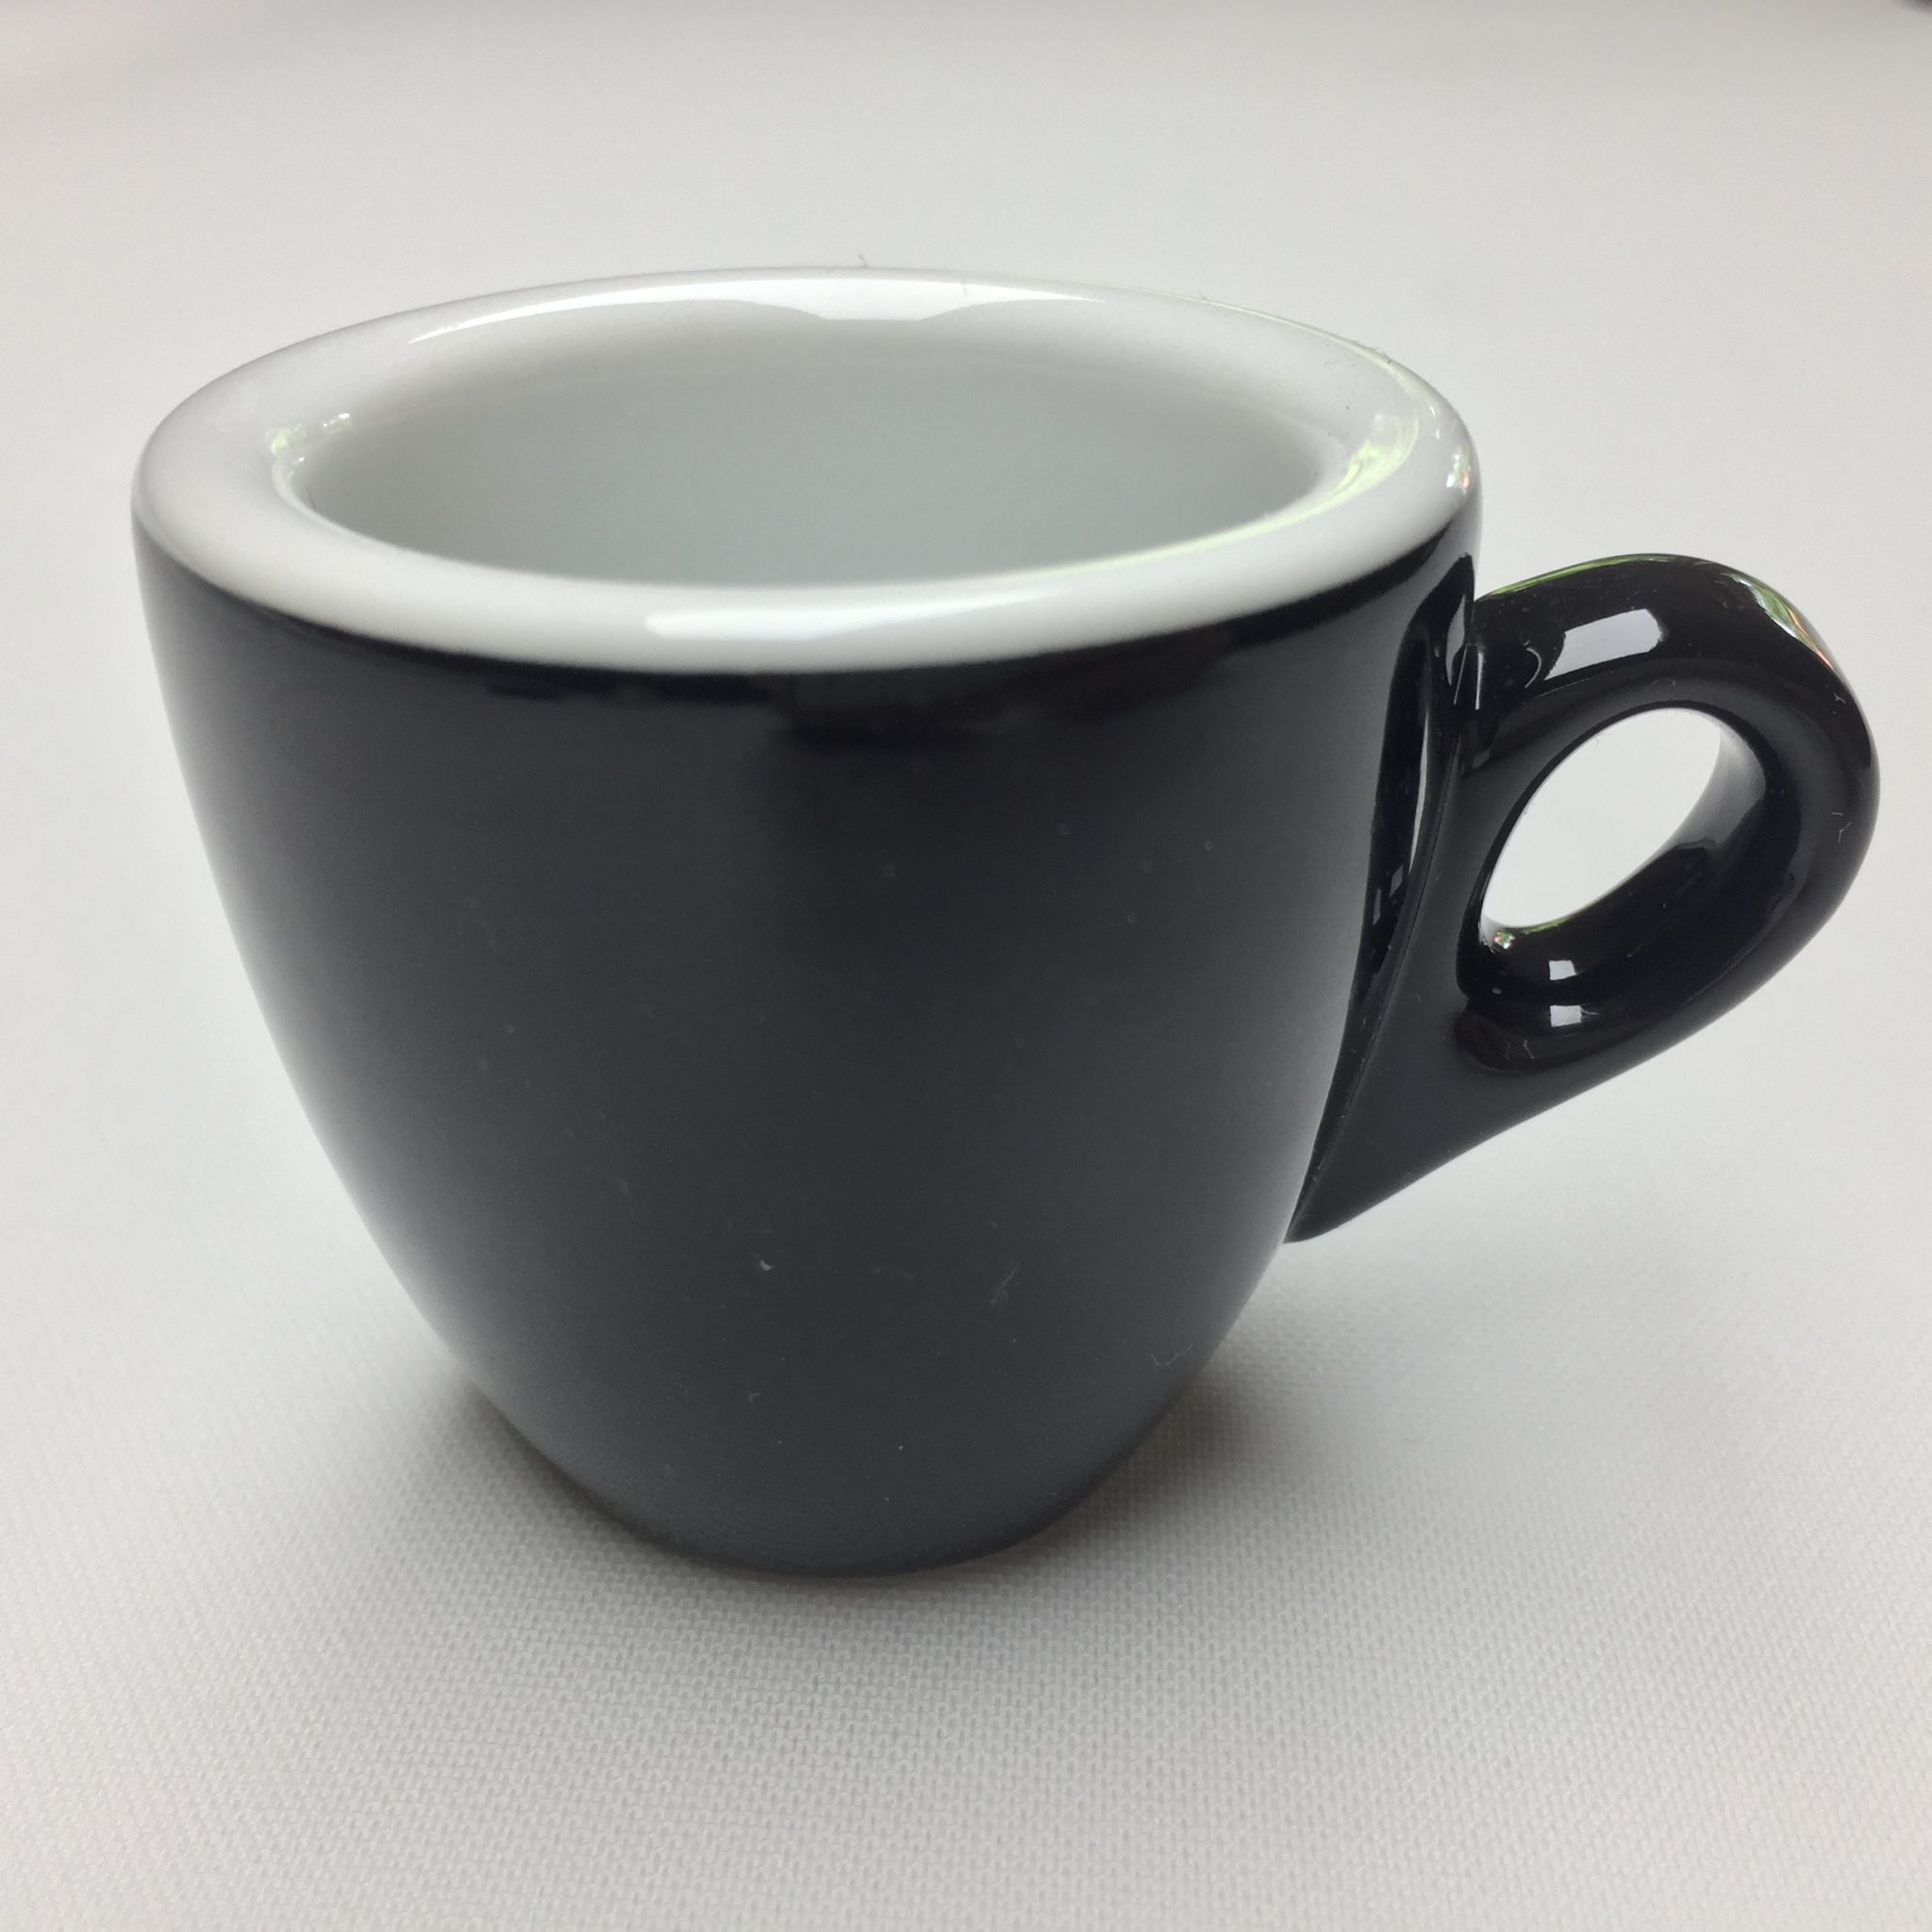
The cup should ideally be thick-walled and with a round bottom. And you should have warmed it up well by letting it stand long enough on the cup warmer or by using hot water from the machine. The portafilter should be clamped in 15 minutes before brewing. This means that when the machine is switched on, it is clamped empty.
The reason for these measures is simple: only 25 (or 50) grams of coffee are extracted, which cools down very quickly on cold surfaces. The result will be that the espresso tastes flat and that is exactly what you have to prevent.
More Information
Finally, a few details that may be helpful:
- A new bag (even with the same roast) may make it necessary to change the grind.
- The same also applies in the event of severe weather changes.
- If you change the grinding degree in the direction of 'finer', the grinder has to grind longer for the same volume—and vice versa. This is important to know when using a timer that should then be adjusted.
- As said above: A mill normally has a dead space. After grinding it once, you will not notice any appreciable difference. If you then immediately set it again, you are well on your way to the madhouse or will at least waste large quantities of coffee.
- You should always make the changes to the grinding degree in small steps.
- If the grinder sprinkles a lot of coffee, this may also be due to the roast or the beans.
- Trial packages (with small amounts of different roasts) from the roasters are well meant. But if you can get a good espresso from just 250 grams at the beginning, you can consider yourself a born barista without false shame.
If you have roughly taken all of this into account,
- the extracted coffee will flow evenly and its colour will become increasingly lighter after 15–25 seconds. The brewing of a conventional espresso ends after approx. 25 seconds. Then you have about 25 ml (with a 2-sieve: 50 ml) espresso in the cup.
- the coffee puck will be quite dry after brewing and will fall out like a cake (more or less completely).
- the espresso will taste neither sour nor bitter, but rather 'strongly tart'.
As a further link, please refer to the coffee wiki: Knowledge database about coffee, espresso and espresso machines (in German)